Cart
0


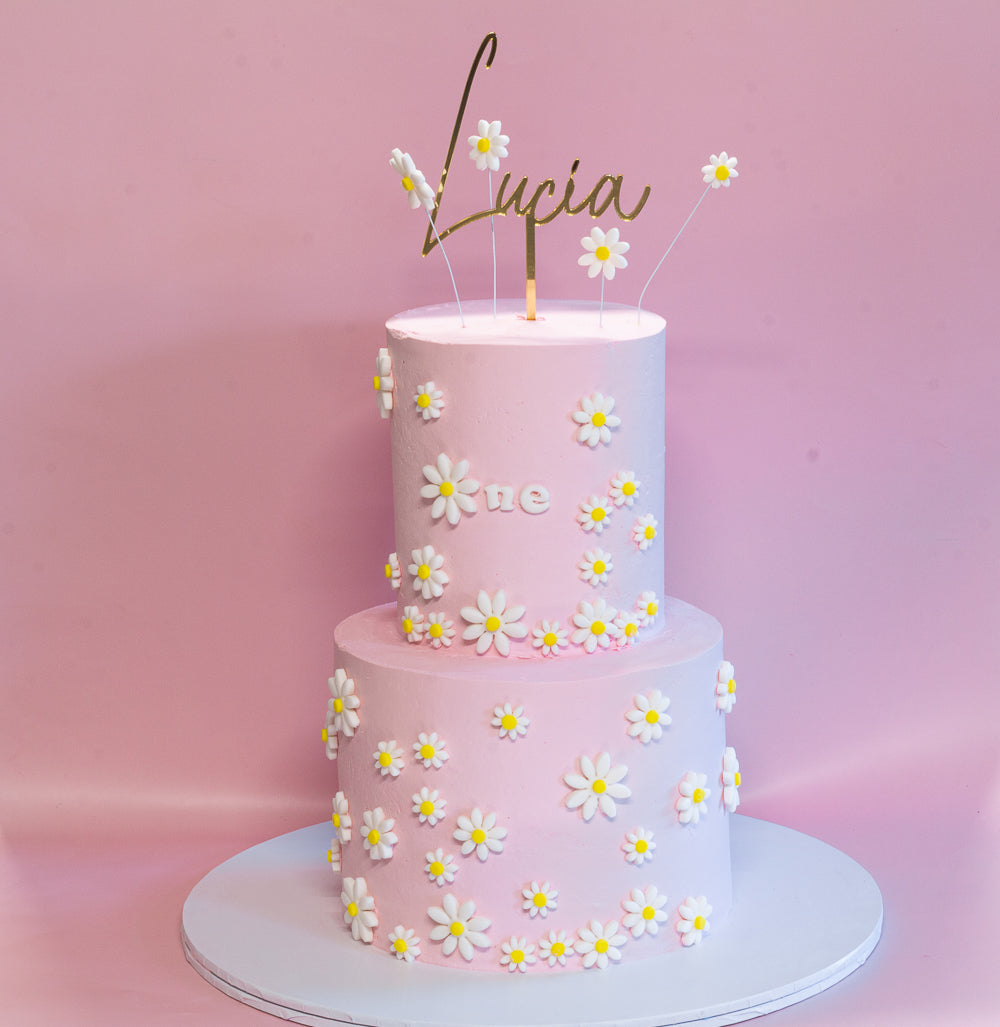
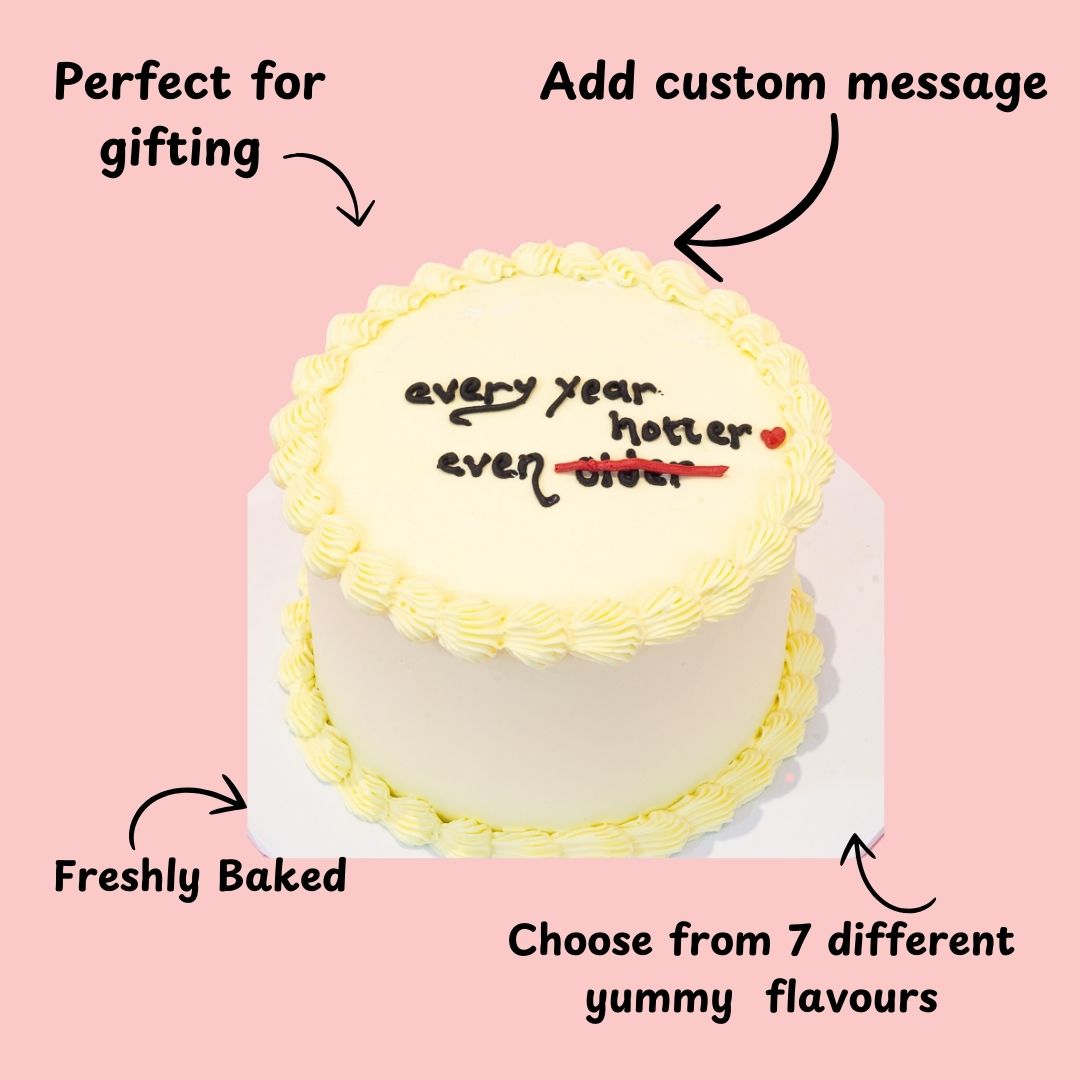
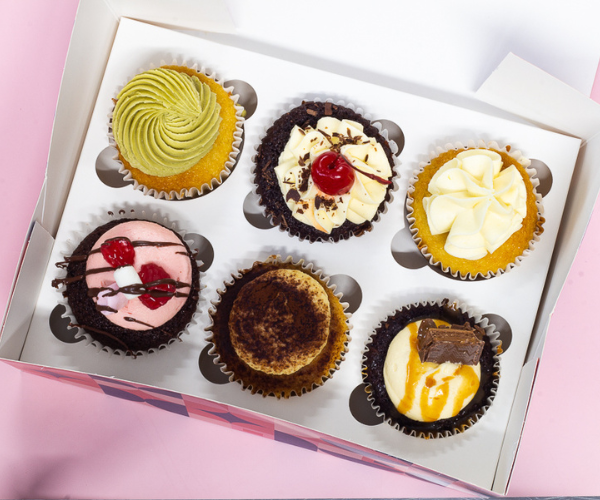
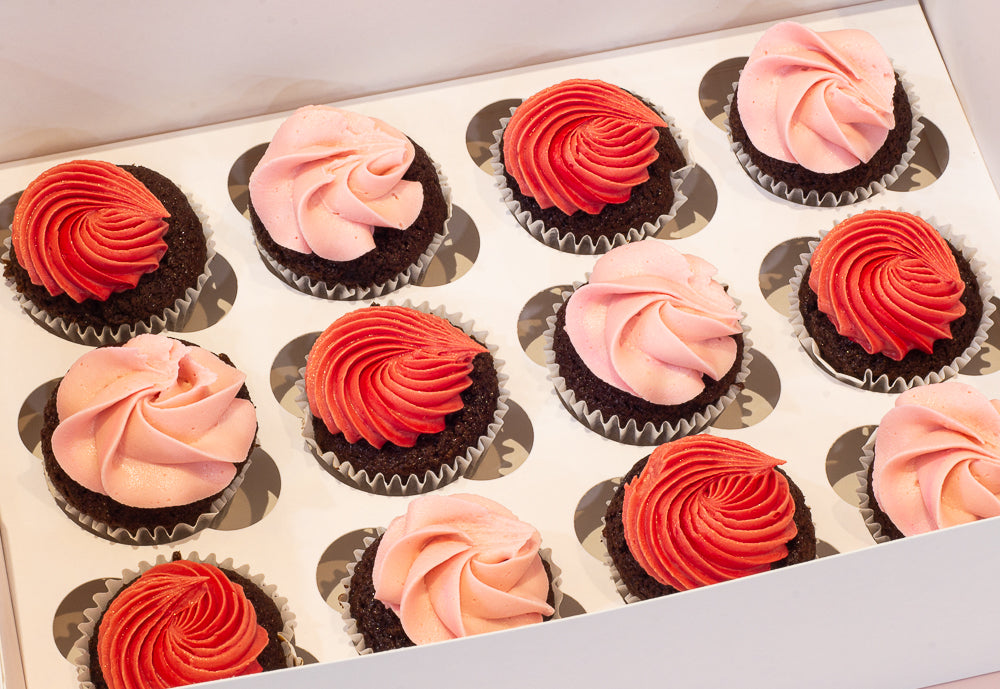
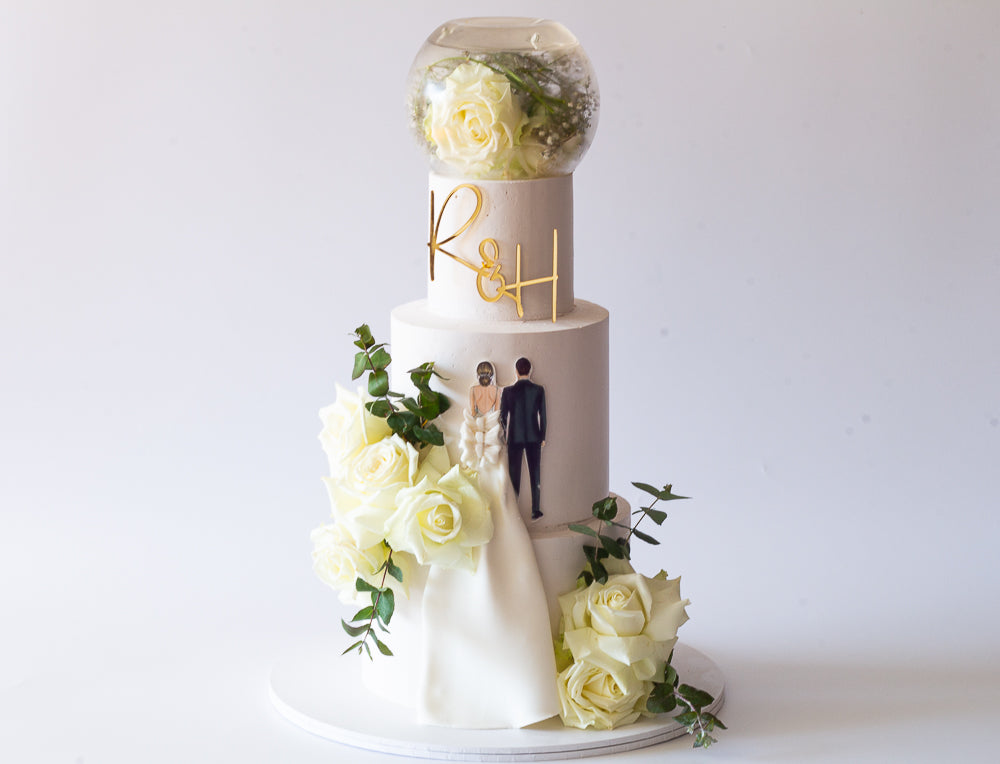
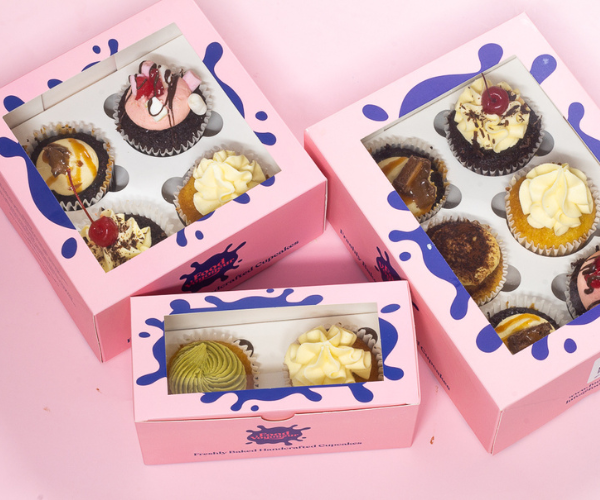
SHOP OUR BESTSELLER


Online Course
Looking to master the art of caking Look no further! Our comprehensive courses will teach you everything you need to know to making the perfect cake.
Explore Now
One on One Course
Looking to master the art of caking Look no further! You will be learning one on one with me, helping you master the art of cake making
Register Now
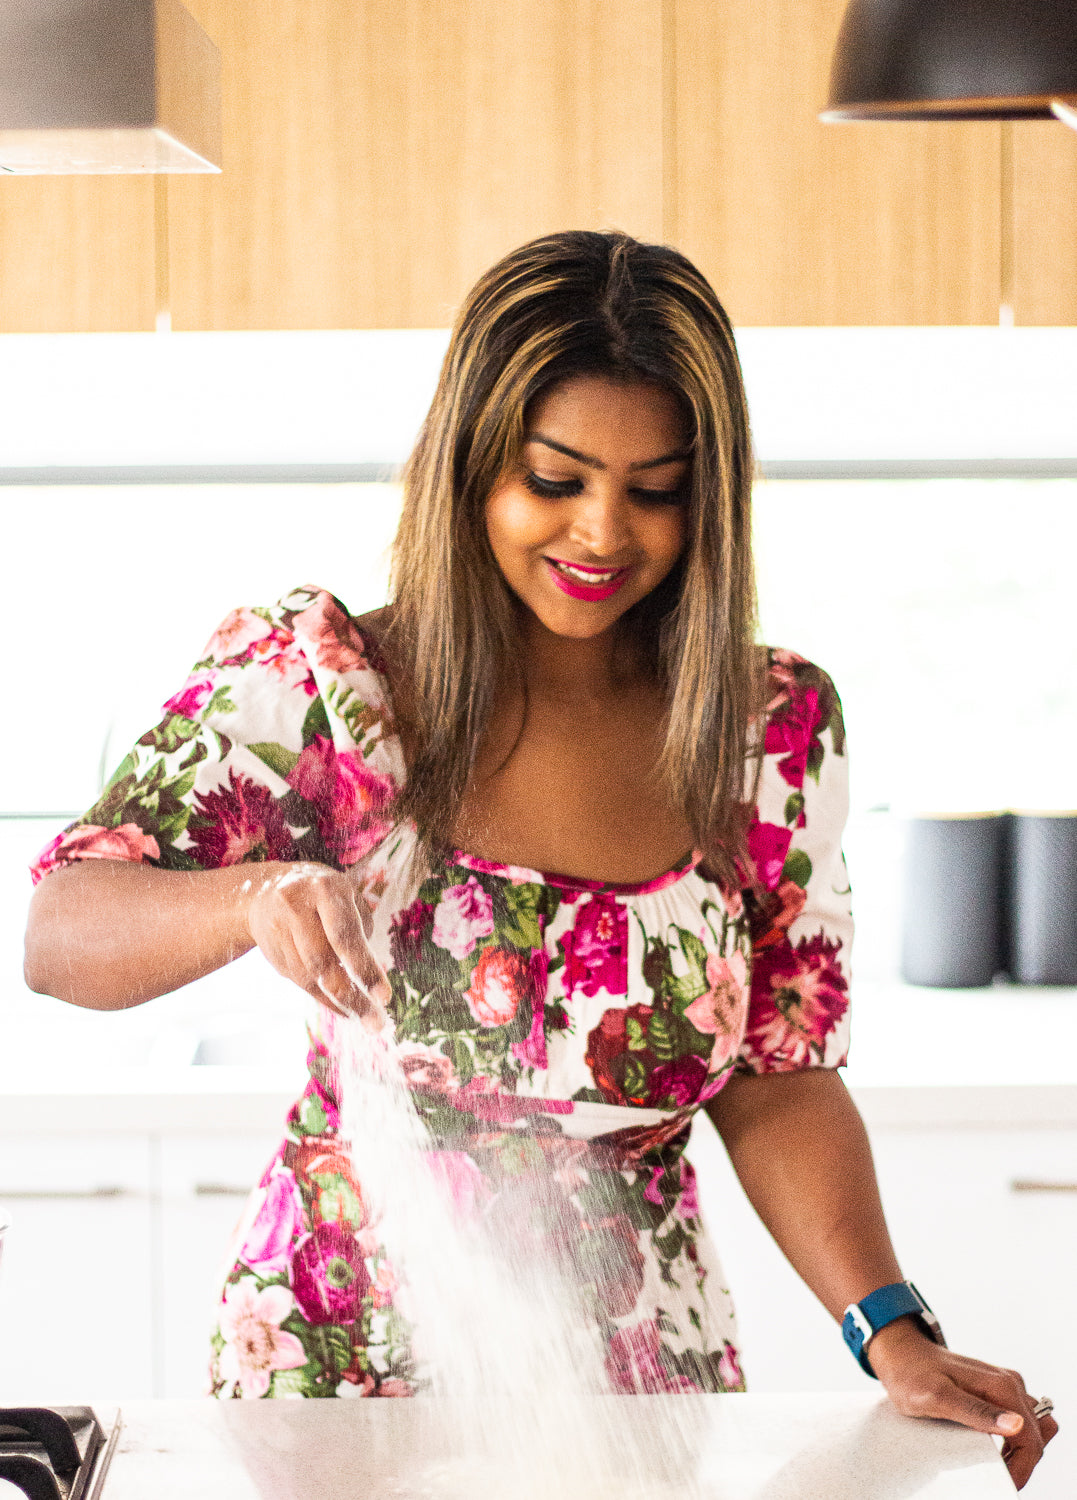
Food Voyageur
Instagram famous cake designer
Hi, My name Rachi founder of Food Voyageur
I have always been involved in food, from the time I was small and always wanted to be in the food industry. I was fortunate enough to be born to one of the culinary guru’s in Sri Lanka. My dad, Rohan Fernandopulle, was a chef by profession all his life but is now a general manager and chairman in a five-star hotel in Sri Lanka.
at the age of 18, I left my home country to pursue a career in hospitality. I left for France to do my bachelor’s degree in Gastronomy and Culinary arts in one of the most famous hotel school, Institute Paul Bocuse in Lyon, which is where I really learnt the true art of cooking. From there I travelled the world learning and training under the best chefs and best restaurants in the world where I learnt so many cuisines and flavours that I carry with me today. My final destination was Australia, I live in beautiful not so sunny Melbourne, but I call Melbourne my home now.

DELIVERY & PICKUP
Food Voyageur offers free delivery between 8:00 a.m. to 12:00 p.m. to selected locations on weekends only. We do not offer a specific time delivery for free. If you need your order to come at a specific time then you will need to pay for a delivery fee starting price of $100
Order Now
CATERING & EVENTS
Make your events unforgettable with our personalized cakes and cupcakes. Whether it's an intimate gathering or a large celebration, we provide expertly crafted baked goods tailored to your needs. Ensuring a memorable experience for you and your guests!
Order Now